
I am SUPER excited to finally be in the beginning stages of my low-budget, low-tech DIY roll-off! Hopefully, documenting my progress here will help someone out and maybe highlight that a small DIY backyard observatory does not have to come with a high price tag. I will also document the cost as this progresses.
In order to keep the cost down, I went with a resin shed since lumber prices are astronomical (pun intended) these days.
Before I ramble any further, I'd like to thank a gentleman named Bill from the Astronomical Society of Eastern Missouri. He provided me with a SOLID framework of how he built his, including a very detailed, 30pg document with pictures that goes through every step of the process... even some lessons learned and tips and tricks! Thank you Bill!
The shed I will be using is a Craftsman 7x7 resin shed on an 8x8 deck. Since my wife and I will be selling this house in 2 to 4 years, I wanted something simple but effective that could be easily removed from the property, and not break the bank. This will give me somewhere to stay pretty much permanently set up, and ready to go whenever the sky permits. Not even doing a cement pier, will just use the tripod to keep things simple.
Here is the resin shed:

It will be fully framed on the inside prior to making the roof cut, so that the outer structure becomes nothing more than a 'skin'. The roll-off system will be as simple as it gets, with eight 2" fixed caster wheels that cost about 4 bucks apiece at the local hardware store, or 7 bucks apiece on Amazon. The shed empty weighs about 360lbs. Not sure what the deck weighs, but it'll be pretty heavy when assembled. We will also anchor the deck to the ground since we get the occasional microburst here in central Georgia.
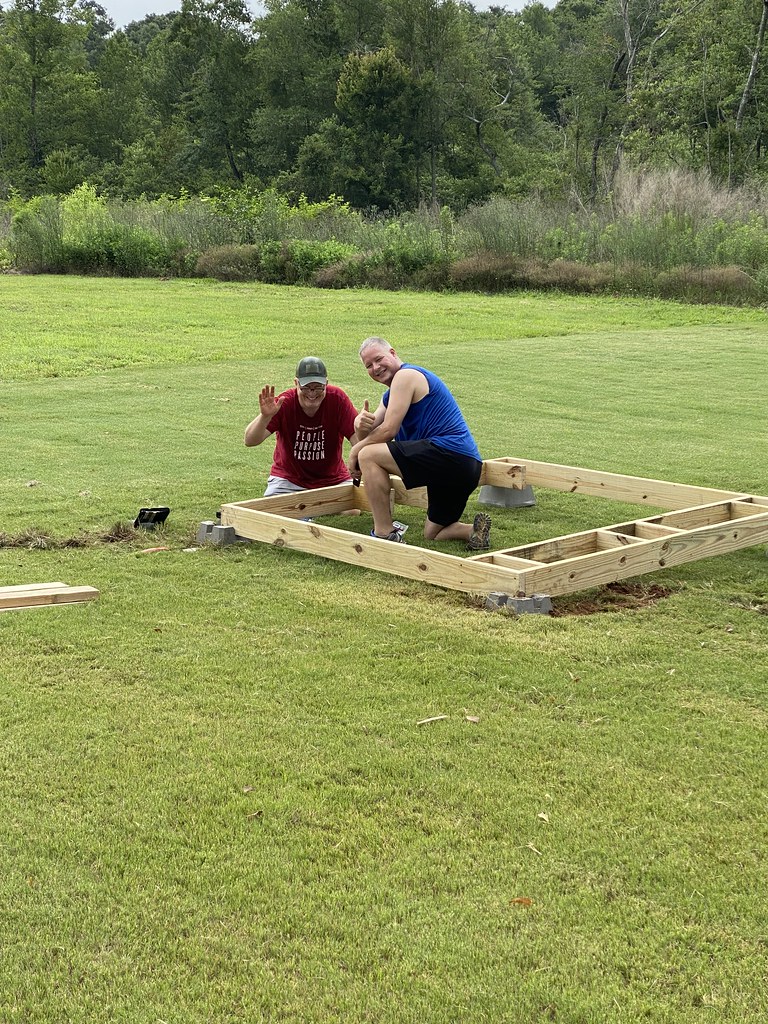
Here is a pic of me trying to build something:

Needless to say, I have a friend who knows what he is doing coming out to help with the woodworking! By "help" I mean do exactly what he tells me to do and not deviate LOL
So far, I have the shed and everything needed to build the deck. Another key point is to tear up as little of the back grass as possible, so a simple wooden deck on deck stones is the way I chose to go.

The 8x8 deck will be made with 2x6" framing, with 2 sheets of 4x8' OSB as the platform (floor of the shed and all of the lower framing will be screwed to the platform). The 4x4"s in the picture are for the gantry, which will have 'feet' sitting on 12"x12' paving stones. All of the wood is pressure treated, but I will still need to seal the OSB.
I will purchase the 2x4's, wheels and odds/ends after the shed is built and we get some measurements.
So far total cost (shed, deck wood, 4x4's, deck stones and wood screws) is at $1,073.00...
More to come!
Mike